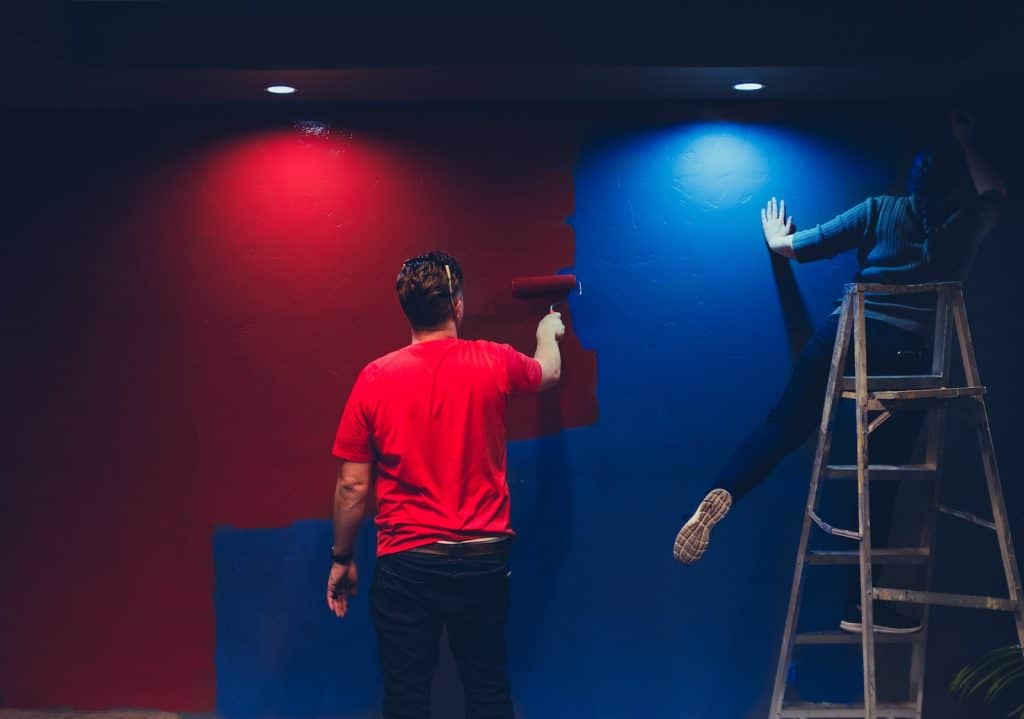
Introduction: Welcome to the world of DIY painting and wall repair! Whether you’re a seasoned DIY enthusiast or a beginner looking to embark on your first project, this comprehensive guide has got you covered. We’ll delve into essential techniques, share invaluable painting tips, and walk you through the process of patching walls like a pro. Let’s turn that blank canvas into a masterpiece.
Prepping for Success: Paint Preparation

Proper paint preparation is the foundation of a successful DIY painting project. This involves cleaning surfaces thoroughly to remove dust, dirt, and grease, ensuring optimal paint adhesion. Priming is also crucial, as it creates a smooth and consistent base for the paint. By starting with a clean canvas, you set the stage for a professional-looking finish.
Tools of the Trade
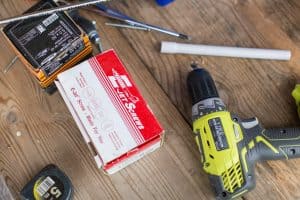
Having the right tools is like having a reliable sidekick. A putty knife is essential for filling holes and cracks, while joint compound is a versatile material for smoothing surfaces. Fine grit sandpaper helps in achieving a smooth finish, and a utility knife is handy for precise cutting. These tools work in harmony, making your DIY journey more efficient and enjoyable.
Patching Walls 101
Patching walls is an art, and this section guides you through it. For small holes, a simple application of joint compound with a putty knife does the trick. Larger holes may require a drywall patch, which involves applying the patch, covering it with joint compound, and blending it seamlessly with the surrounding wall. Mastering these techniques ensures that your walls look flawless, free of any blemishes.
Painting Tips for a Pro Finish
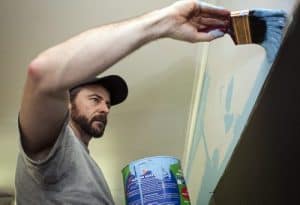
Achieving a professional finish goes beyond choosing the right color. This section covers essential tips like addressing peeling paint and seamlessly covering nail holes and loose tape. The focus is on achieving better paint adhesion, ensuring that your paint job not only looks great initially but also stands the test of time. The importance of touch-up paint is emphasized, providing solutions to make your walls look consistently stunning.
Troubleshooting: Common Painting Problems
Even with careful planning, issues can arise. This section troubleshoots common problems like cracked areas, drywall damage, and popped nails. Understanding these challenges and their solutions ensures that your project stays on track, even in the face of unexpected obstacles.
The Finishing Touch: Seal the Deal
Applying the finishing touches is about ensuring a flawless final result. This section guides you through applying a second coat for added durability, color matching for a seamless look, and achieving a uniform surface. Fresh coats are explored, emphasizing their role in the longevity of your paint job.
Clean-Up and Maintenance
Your DIY journey concludes with proper clean-up and maintenance tips. Caring for your tools ensures they’re ready for your next project, and maintaining painted walls prolongs the life of your hard work. This section emphasizes the importance of post-painting care, turning your DIY project into a long-term success.
Perfecting the Canvas: Mastering Drywall Compound
When it comes to achieving a flawless finish, understanding how to effectively use drywall compound is essential. This versatile material is not just for patching holes; it’s a key player in creating smooth surfaces. Learn how to apply drywall compound with precision using a drywall knife, ensuring that imperfections are seamlessly blended. This section explores the art of filling holes, covering cracks, and creating a canvas that’s ready for the perfect paint job.
Applying Joint Compound Like a Pro
Applying joint compound is an art that goes beyond mere functionality. Discover the techniques that transform this humble compound into a tool for crafting smooth and even surfaces. From small imperfections to larger areas, the application of joint compound can make all the difference. Learn to finesse your skills with a drywall knife, creating surfaces that are not only flawless but also a joy to paint.
The Finishing Touch: Lightly Sanding for Perfection
Once the joint compound has dried, the journey to perfection continues with the art of lightly sanding. This step ensures that surfaces are smooth and ready for the final coat of paint. Explore the nuances of using fine grit sandpaper and a gentle touch to achieve a surface that’s not only visually appealing but also feels flawless to the touch.
Beyond the Basics: Dealing with Drywall Screws and Loose Debris
Diving Deeper with Drywall Screws
Beyond the realm of patching holes and applying joint compound lies the importance of dealing with drywall screws. Learn the nuances of properly securing drywall with screws, ensuring stability and longevity. Understand how to countersink screws for a seamless finish that contributes to the overall aesthetic appeal of your walls.
Spackling Compound for a Finishing Touch
While joint compound is the star of the show, spackling compound plays a crucial supporting role. This section explores the specific applications of spackling compound, especially in filling smaller imperfections and achieving a smooth transition between surfaces. Discover how to use a drywall knife to apply spackling compound with finesse, leaving your walls ready for the final masterpiece.
Clearing the Canvas: Addressing Loose Debris
Before diving into the application of compounds and the intricacies of drywall screws, it’s essential to clear the canvas. Loose debris can compromise the integrity of your project. Learn how to identify and address loose debris, ensuring that your surfaces are clean and ready for the transformative steps that follow. This foundational step contributes to the longevity and durability of your DIY masterpiece.
Final Thoughts: DIY Painting and Wall Repair
The conclusion wraps up your journey, congratulating you on mastering DIY painting and wall repair. It reinforces the skills you’ve gained, from patching small cracks to tackling larger holes, and encourages you to apply your newfound knowledge with confidence. It’s a celebration of your ability to transform any wall into a work of art. Happy painting!
Other suggested articles: